
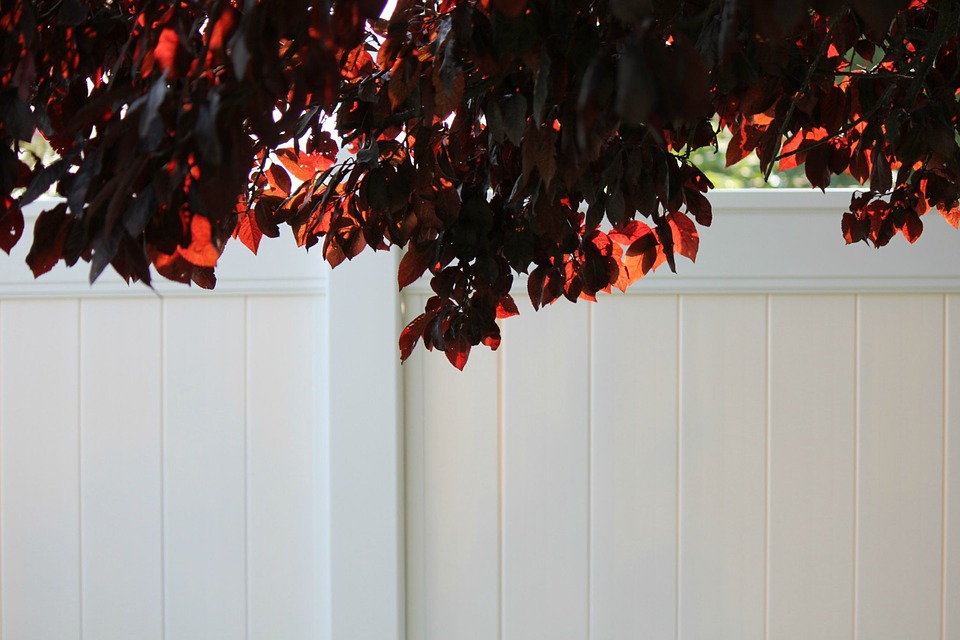
Where wood and metal fences once reigned supreme, vinyl fences are quickly becoming the fence of choice for many homeowners. Due to their flexibility, durability in even the harshest weather conditions, and easy maintenance, vinyl fences have gained popularity throughout Southern California and beyond. Despite their intense durability, though, vinyl fences can still become dirty, stained, smudged, and even covered in mold or mildew. When this happens, however, you do not have to worry about ripping the fencing up and replacing it. Quite the contrary, all you have to do is give it a good cleaning! Fence cleaning was once a chore when dealing with wooden and metal fencing, but when it comes to vinyl fences, cleaning is a piece of cake. In fact, knowing how to clean a vinyl fence depends upon the state of it. Below we’ve rounded up the most common cleaning methods you’ll need to know when your vinyl fencing is looking a little worse for wear, as well as step by step guides to walk you through each procedure.
General Cleaning
When it comes to knowing how to a clean a vinyl fence, the general cleaning method will likely be the most useful. General cleaning is used for light stains, build up, dirt, dust, and other minor filth that is likely to occur during your vinyl fence’s lifetime. For this method, you’ll need the following supplies:
- Garden Hose with Spray Nozzle
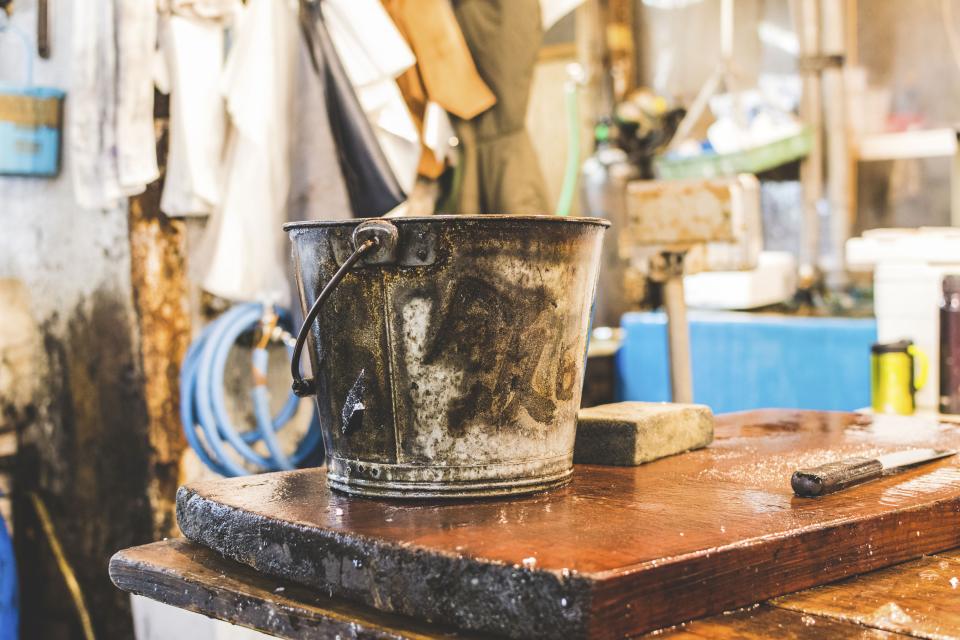
- Bucket
- Towels or Old Cloths
- Rubber Gloves
- Scrubbing Pad (non-abrasive)
- Fence Cleaner
Much of the supplies listed can be found at your local hardware store, or else at your local Target or Wal-Mart. Now that you’ve got your tools ready, let’s run through a step by step guide for general cleaning:
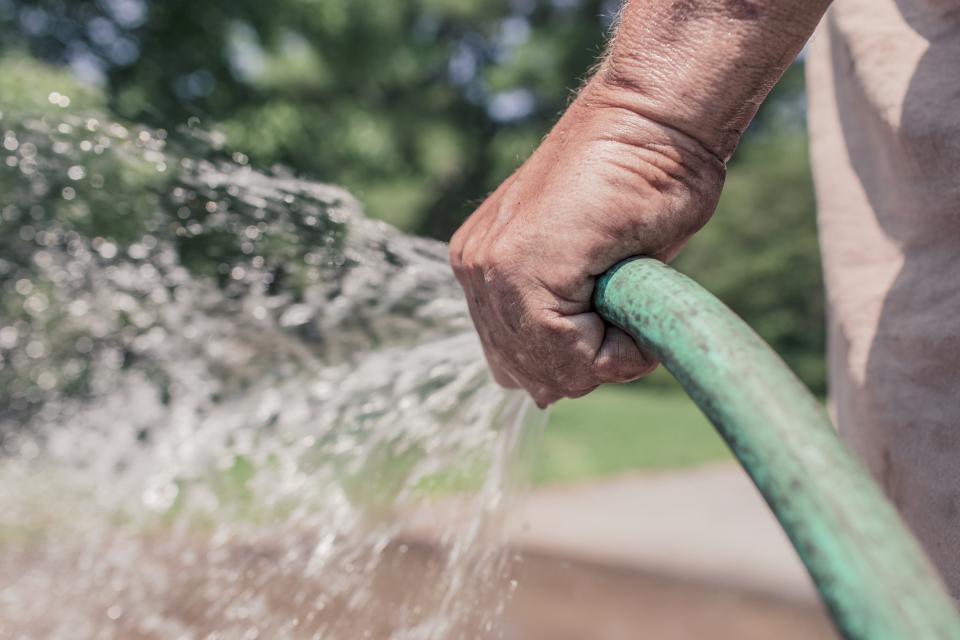
- Turn on the garden hose and spray down the entire fence. For best results, use the spray nozzle for a forceful jet stream. This will ensure that any loose dirt, dust, or grime is removed easily and automatically. Be sure to spray from top to bottom so that the detritus will run off.
- After you’ve finished rinsing, more stubborn areas that require scrubbing will become clear. Walk around the fence to make sure you catch and identify each of these areas. Missing one will only make the job longer.
- Fill up your bucket with warm water and mix with fence cleaner (or dish soap) until the mixture is nice and soapy.
- Submerge your cloth or towel into the bucket until it is soaked. Take it and begin wiping the stained areas. If you come across a particularly slick stain, use the non-abrasive scrubbing pad for some extra friction that won’t damage the paint.
- Once everything has been scrubbed, take the garden hose and again and rinse off any soapy residue. Take a fresh towel or cloth to dry off the fence and remove any excess water.
- You’re Done!
As mentioned, this method is good for minor stains and buildup. Next, we’ll walk through how to handle quick cleaning jobs that are not as extensive, but still require a certain level of care.
Quick and Simple Cleaning Options
Some fence cleaning jobs will only take a few minutes. These jobs are cheap, easy, and help with the everyday spots that undoubtedly show up. Consider these steps as routine maintenance to help keep your vinyl fence from becoming dull, dusty, or spotty with dirt. For this job, you’ll need:
- All-Purpose Outdoor Fence Cleaner
- A Cloth or Towel
- Abrasive-Sided Sponge/Scrubber
- Bucket
If you’re looking to save money, you can create a DIY cleaner. To do this, you’ll need ½-1 cup of white vinegar mixed with 1-2 gallons of water. If the solution is not exactly as described here, don’t worry—there’s really no way to get it wrong. If your fence needs a little extra strength, you can add more vinegar. If not, you can add a little less. You’ll be able to gauge how much you need rather quickly. Now, onto the steps:
- Fill your bucket with either the DIY cleaning solution or equal parts fence cleaner and water.
- Dip your cloth, towel, or sponge into the solution and allow it to become good and soaked.
- Wipe down your fence, giving special attention to caked on dirt, dust, and grime if needed. For heavier stains, use your scrubbing sponge to cut through stubborn marks.
- You’re done—It’s that easy!
From here, we’re going to tackle cleaning the tougher stains that might befall your vinyl fencing: grass stains, tar stains, and grease stains.
Cleaning Tough Stains: Grass, Tar, Grease

The longer you have your vinyl fence, the higher the likelihood of tough stains appearing on it. While they can be annoying and unsightly, you can get rid of these stains rather easily. You’ll need the following tools:
- Bleach
- Old Cloths or Towels
- Scrubbing Pad (non-abrasive)
- Bucket
- Rubber Gloves (optional)
- Mineral Spirits or Tar Remover
- Plastic Scraper
A word of caution: while the rubber gloves are optional when dealing with bleach and other heavy-duty cleaners, you want to protect your skin from harsh chemicals and potential harm. To clean these tough stains, please follow this procedure:
- To begin, clean the fence using the general cleaning method mentioned above.
- From here, you will need to create the bleach mixture. The strength of the mixture will depend upon the color of your vinyl fence as well as the amount of dirt and tough stains. For example, if you have a darker colored fence, you should use less bleach. A baseline recipe is to add 1 part bleach to 5 parts water. For white fences with heavy, tough stains, mix 1 part bleach with 3 parts water.
- Dip your cloth or towel in the bleach/water mixture and begin wiping down the stains.
- Remoisten the towel or cloth as needed. If you have a darker fence, be sure to rinse off the mixture the moment you’ve removed the stains.
- For extremely stubborn stains, use the non-abrasive scrubber. Grass stains and grease stains respond especially well to a scrubber as they can be a bit thicker than regular dirt, dust, and grime.
- To tackle tar stains, moisten a towel or soft cloth with mineral spirits or tar remover. For this step, be sure to protect your hands with the rubber gloves.
- With the moistened cloth or towel, begin to gently rub the tar stained area. Be careful not to apply too much pressure. Doing so will leave a polished mark on the fence.
- Once you have removed the stain, immediately rinse the area(s) thoroughly with water. For best results, use a gentle stream for the garden hose. You can also splash with a bucket so that the mixture runs off.
- If you like, you can gently pat the fence dry after this has been done.
- You’re finished!
Below is the last cleaning method for effective fence cleaning.
When a Gentle Scrub is Not Enough: Pressure Washing Your Vinyl Fence
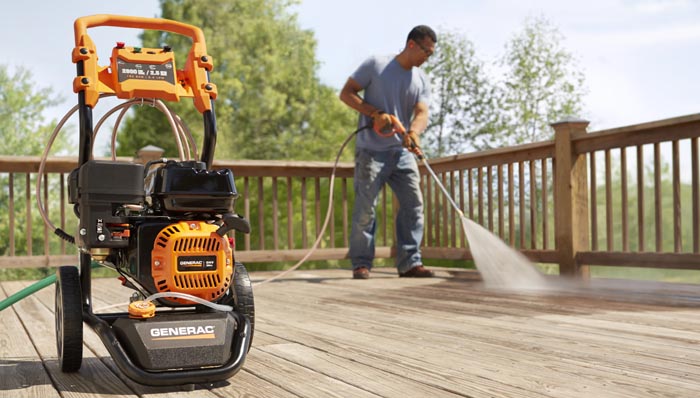
Source: Lowes
Before beginning, we’re going to clarify the difference between power washing, and pressure washing. These terms are used synonymously, but they do have one major difference: power washing uses hot water, while pressure washing uses cold water. Power washing is extra effective for especially caked on dirt and grime because the heat makes it a bit easier to remove the filth. For this last cleaning method, however, we’re going to focus on pressure washing, so get your cold water ready! Here are the tools you’ll need:
- Pressure Washer
- Fence Cleaner
- A Clean Towel
With this method, you can also create your own DIY cleaning solution, as described above.
- Have the pressure washer ready.
- Stand up to 3-4 feet away from the vinyl fence. You should point the nozzle of the pressure washer at the bottom of the fence and work your way upwards. If the dirt doesn’t seem to be dislodging, walk steadily closer until you see the results you want. Getting too close to the fence could result in paint damage.
- Move the nozzle of the pressure washer across and over the fence until all the dirt has been removed.
- Rinse your fence with fresh water. For best results, rinse with a gentle stream from the garden hose. Do not allow the fence cleaner solution to sit for too long or residue will build up.
- Once all rinsed and clean, you can pat you fence dry using the clean towel. This last step is optional, but it makes for a clean finish and discourages water spots and marks.
- You’re done!
As you can see, cleaning your vinyl fence is a very simple task. Each of these methods should take no longer than a few minutes to a half-hour at most. To avoid extra difficult jobs involving heavy stains, be sure to practice routine maintenance and cleanliness for your vinyl fence to discourage buildup.